The Marvelous Love Light
First and foremost, I have to give a giant thank you to Alex Kretzschmar over at Jupiter Broadcasting for inspiring this project. Without, the awesome live hack/tutorial he did, located here, this project would have never even begun. So, thank you Alex.
Now, on to the good stuff.
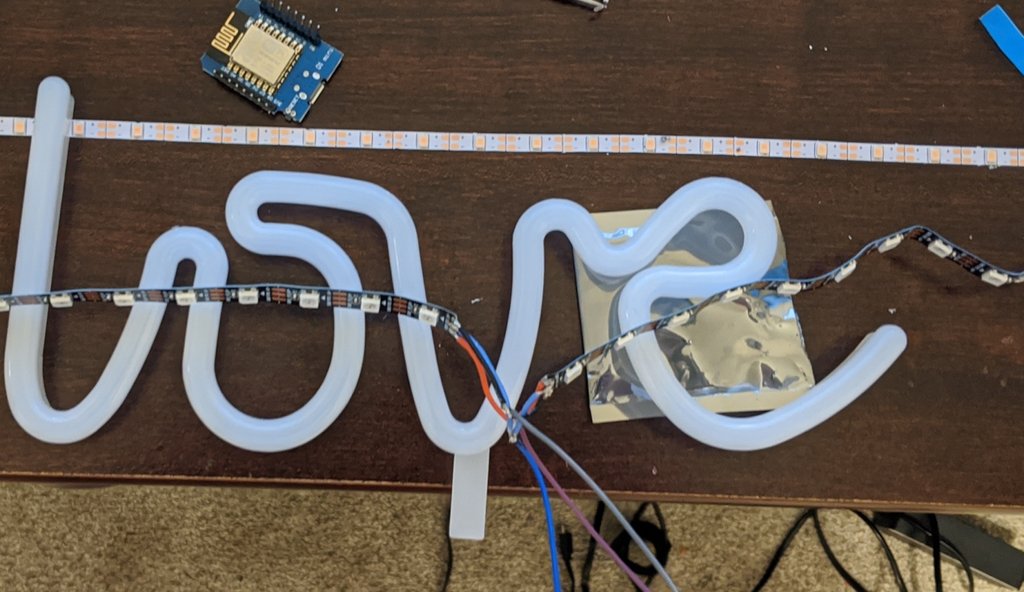
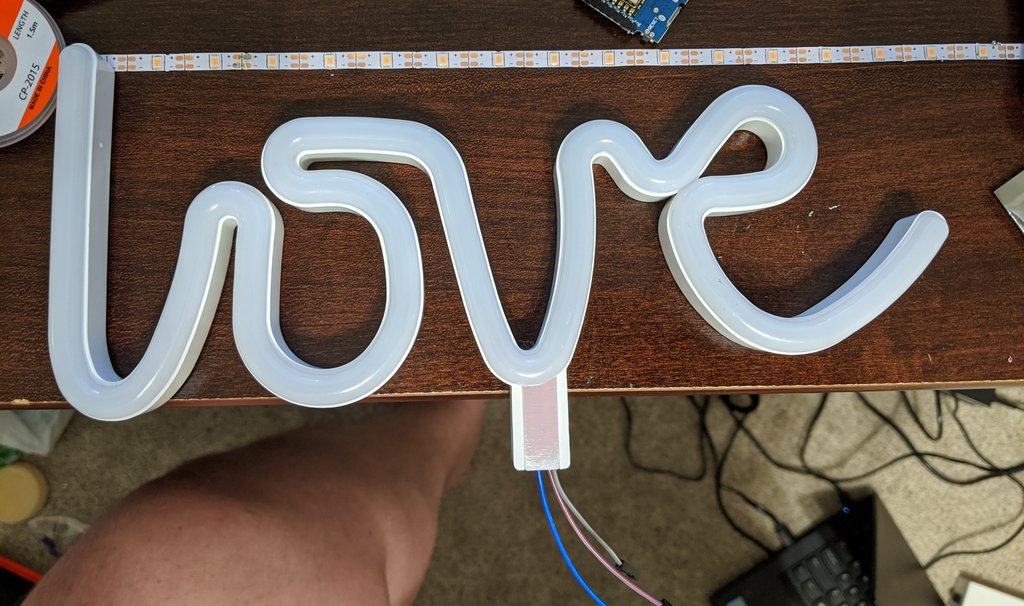
A few months ago, the future wife and I were out at the local Dave and Busters enjoying an evening of video games and drinking. After some time, and prize ticket accumulation, we hit the prize counter. Where, for the low low price of however much you just spent to win these worthless pieces of card stock, you too can have a prize. As most males can attest, when with a female, she gets dibs on any tickets you might have won. Tonight was no different. So, she picked out a nice little light that spelled out “Love” in calligraphy, lit up in pink, what I thought was, cheap neon.
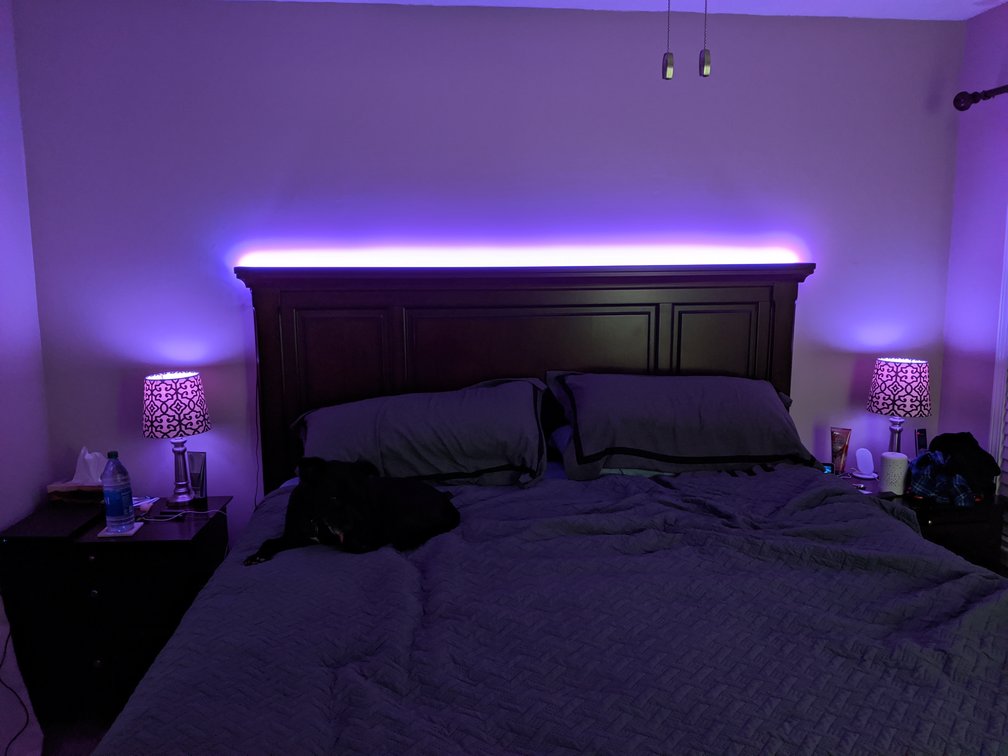
Fast forward a few months, and while changing the batteries in this light that my future wife is way too attached to, I noticed that this was in fact illuminated by some very cheap pink LED’s. Well, well, well….after watching the live hack linked above, I have “decorated” our home with more than a few WLED controlled WS2812b strips of glorious illumination. Above is just one example. I immediately decided that this “Love” light would #1 no longer be powered by batteries that would only contribute to the local landfill, and #2 there was no way this light would only light up in plain old, solid, pink EVER again. Through out this project I learned a few things that I am sure will be valuable in my future projects. (3D printer is coming this week).
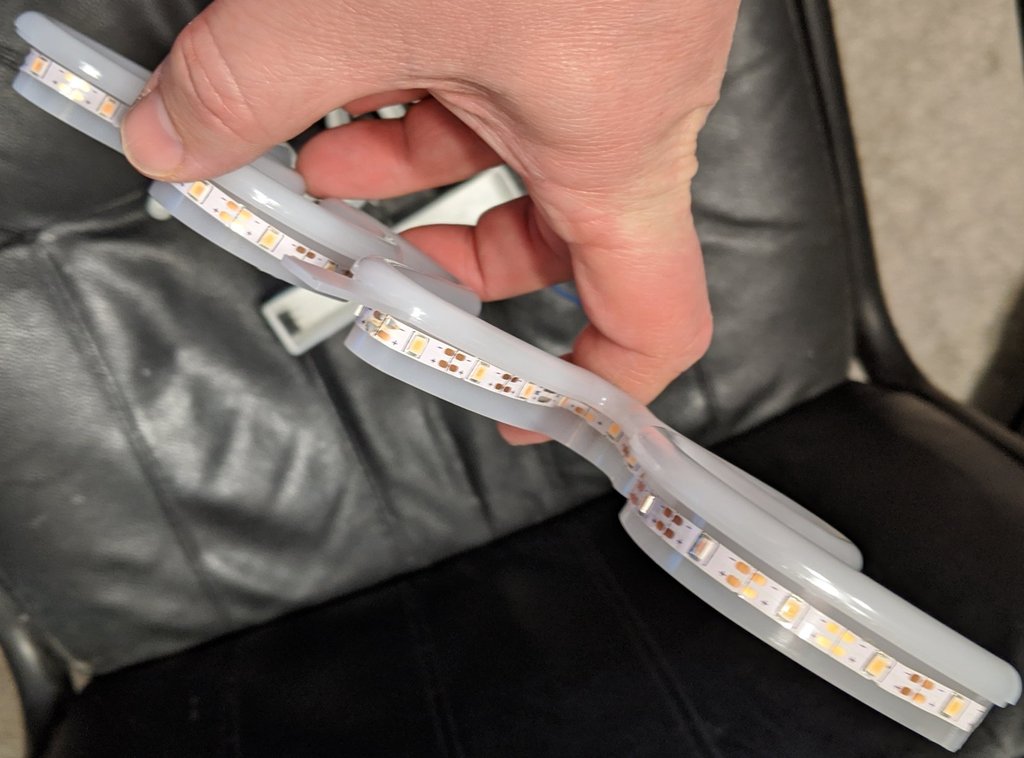
As you can see in the above photo, those plain, pink LEDs are just unacceptable. Furthermore, they cannot be controlled by Home Assistant without adding a D1 Mini.

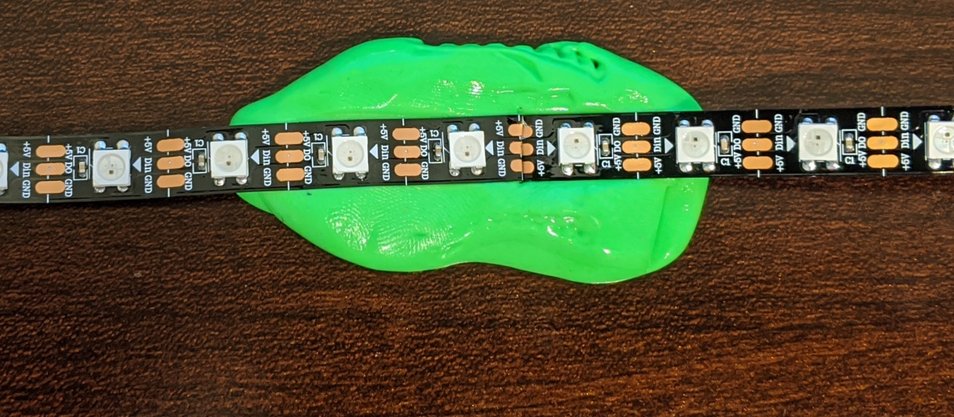
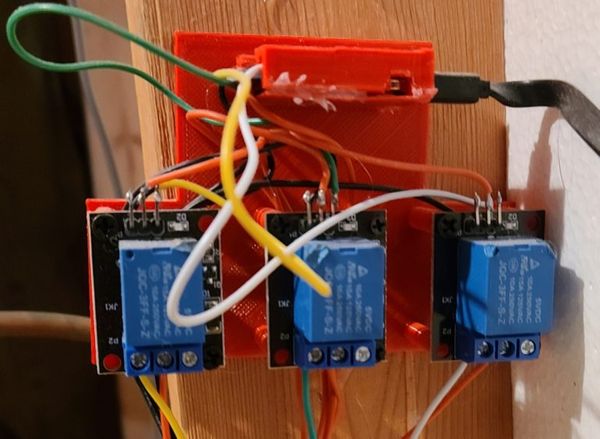
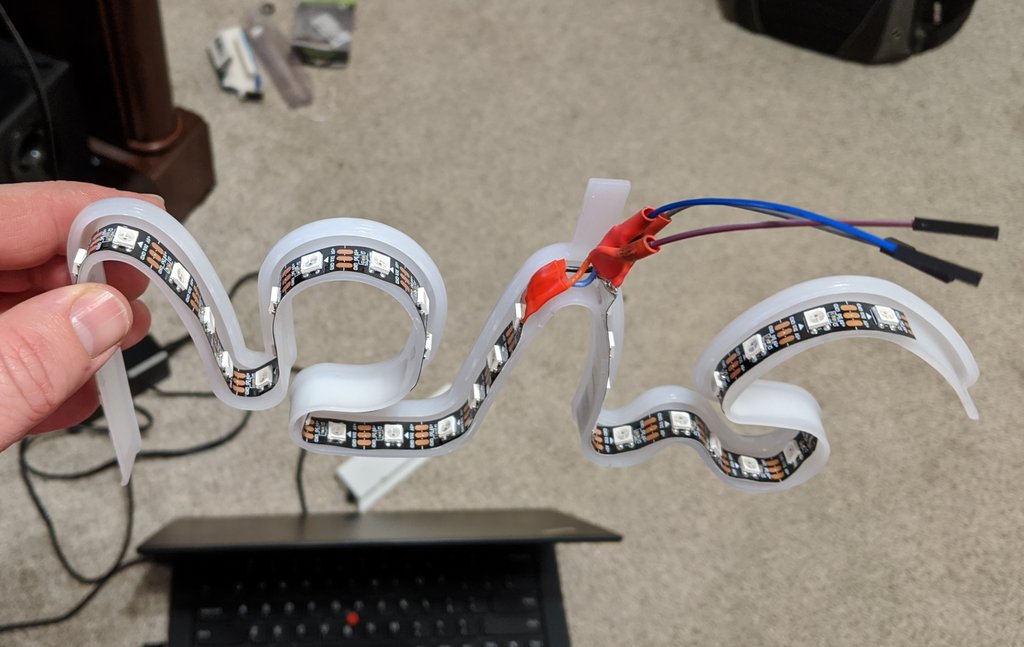
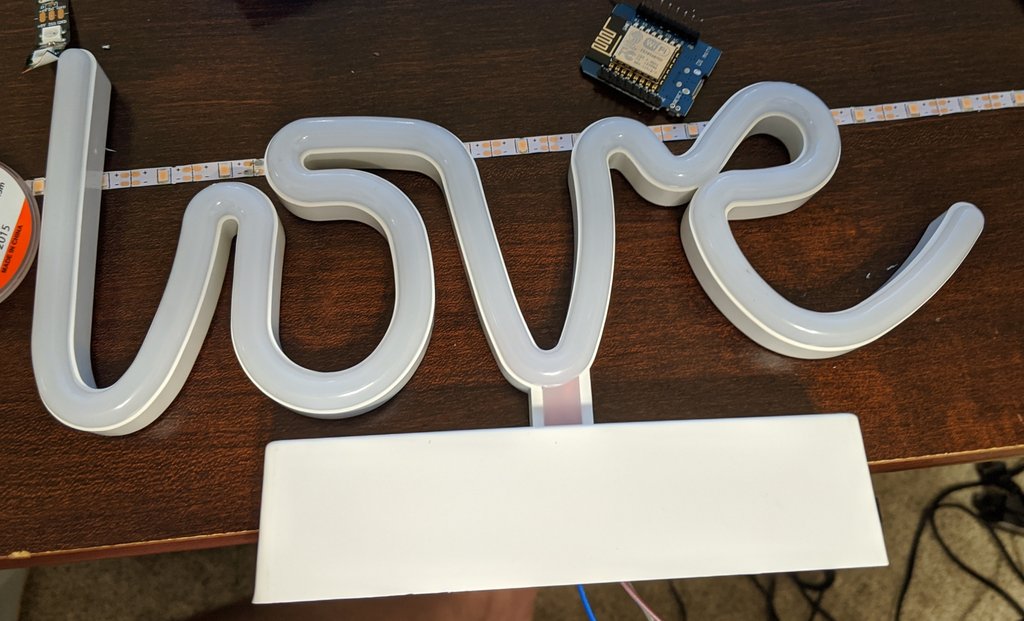
Now, when I peeled the old LEDs off, I noticed something. The power and ground were attached in the middle of the strip. I’m not 100% positive on this, but I do believe that power and instruction only flows in one direction when it comes to the 2812’s. So I cut the strip and placed the cut ends together, as it turns out, backwards. As you can see below, my dumb ass even soldered the grounds to the 5v……it had been a long day already.

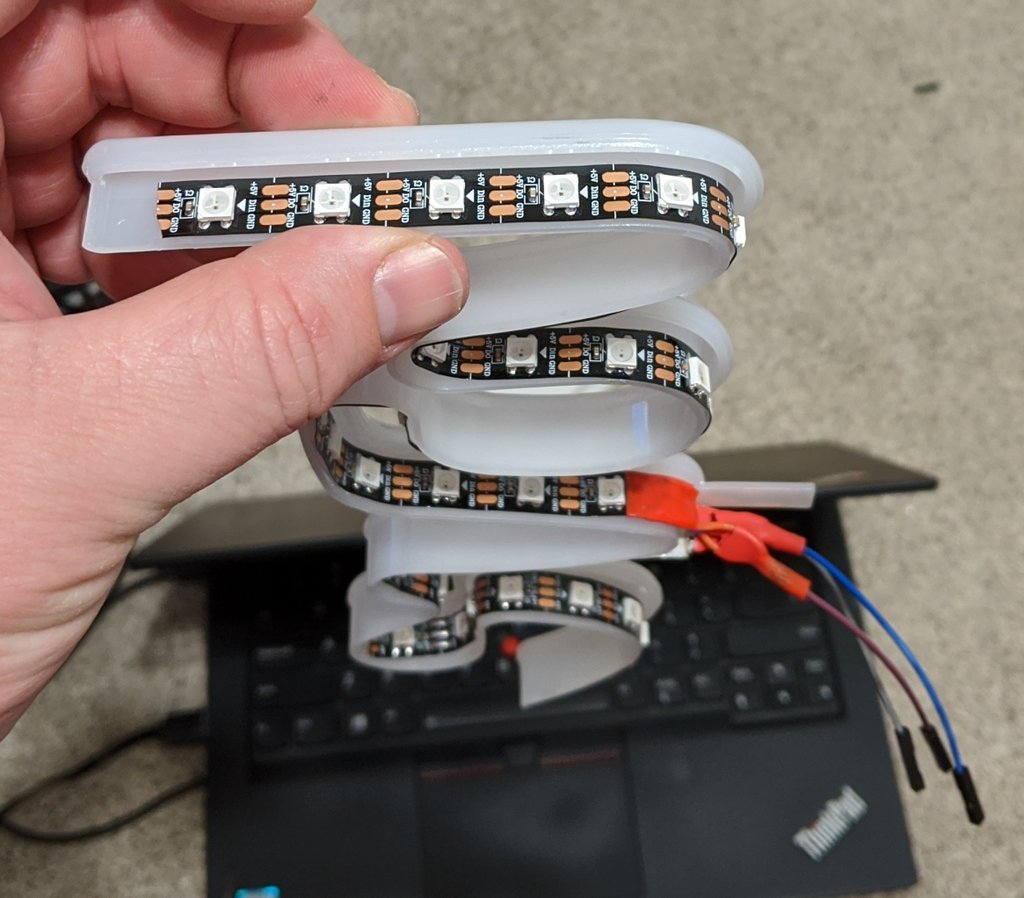
I then proceeded to de-solder and put together what some electricians might call a “pig tail.”
After getting everything soldered correctly and wiring intact, I used the adhesive on the back to stick it where the pink LEDs had once been.
I then snapped the frame back together and reassembled the light.
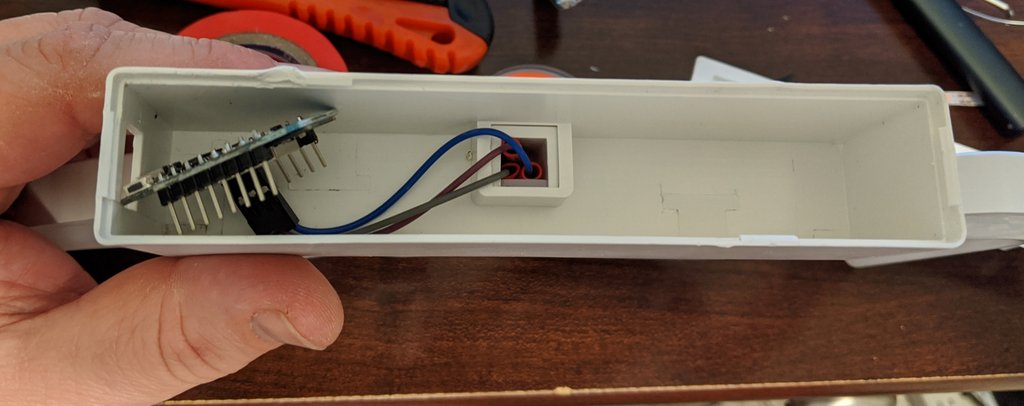
Turns out the existing base provided a nice new home for the D1 Mini. Just had to do a little razor blade modification to the bottom piece to remove the previous battery cavity.
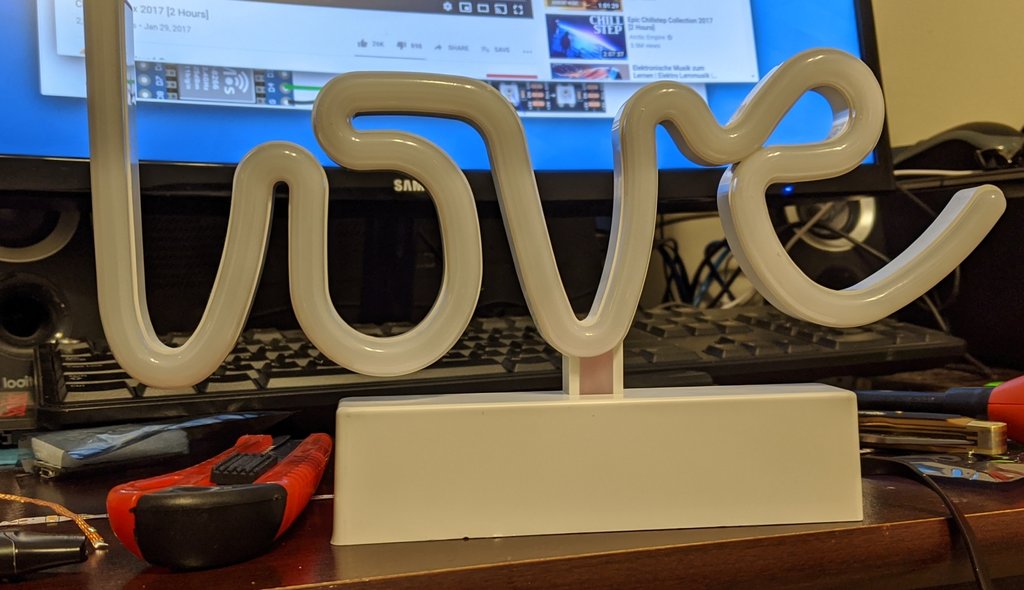
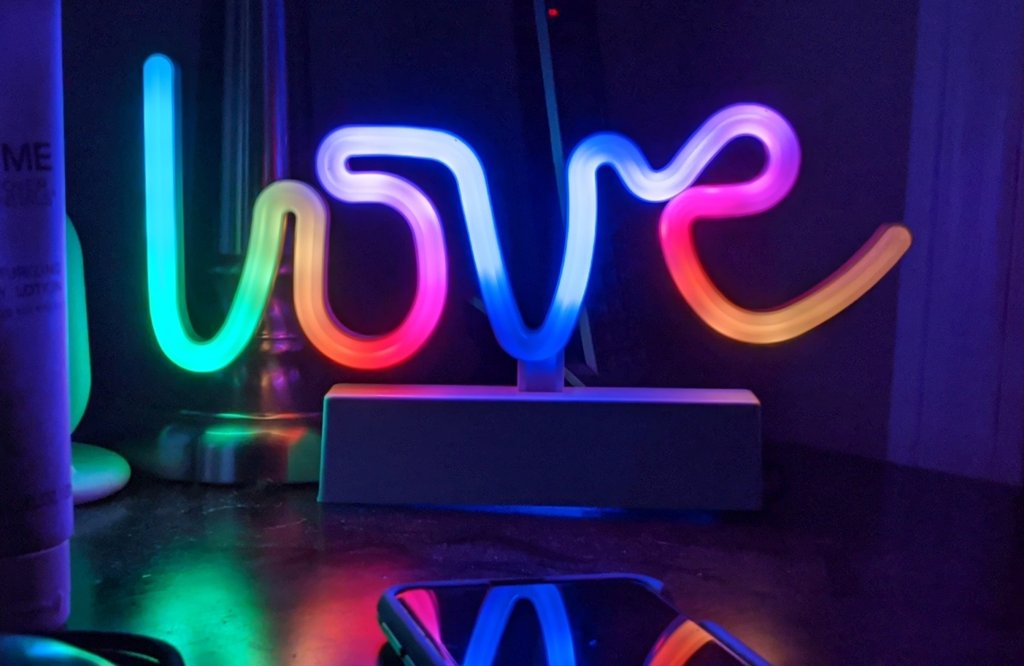
And there it is! No more boring solid pink. Any and all WLED effects are working and it is a helluva lot brighter!
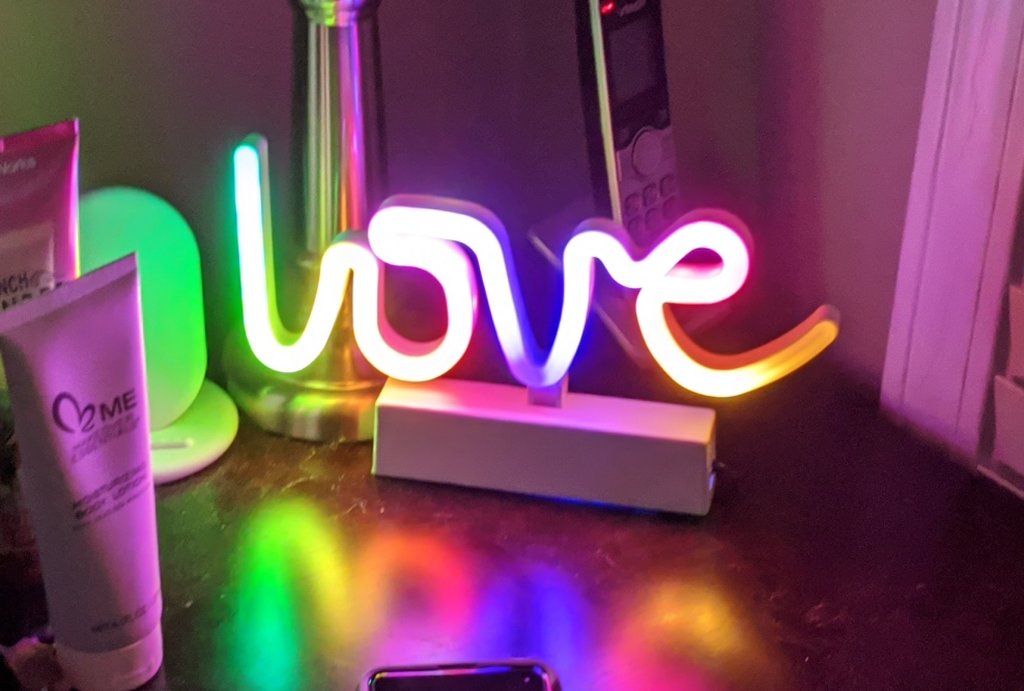
The best part is, the future Mrs. Linux Trucker loves it. Which as you all know means, MISSION ACCOMPLISHED. There is no better feeling than finishing a tinker project and having the missus approve. We all know this isn’t always the case.
Video of the finished product available on YouTube!
So once again thank you Alex for the inspiration and instruction.
You can find Alex’s tutorial in video form here, and in written form here. You can also check him out with Chris on the Self-Hosted Show. Their show just might be the greatest thing to ever happen to podcasting.