The Perfect Picture Cube
A few weeks ago, I saw a post on Reddit showing a Lithophane someone made with their 3D printer. I have to admit that I was a little skeptical, but I thought that if this was actually a thing, then it was a game changer as far as my own 3D printing was concerned. So, I visited the site the user suggested and uploaded a photo to make my own lithophane .stl file. I printed the first one as a mother’s day gift and I have to admit it came out perfect. If you haven’t seen a lithophane before, it’s almost like old school black and white photography blended with 21st century technology. Watching the image form, with light shining behind the object is, in and of itself, AMAZING. I thought I had kind of reached my personal pinnacle of printing lithophanes by just printing single photos that you could place in a window somewhere or in front of a light source and marvel at the pictures. To me, it was a whole new way to enjoy my favorite photos. Fast forward a few weeks and a little bit of online exploration and I found this site. They show off printing lithophanes as ceiling fan light covers, night lights, and even a cube that you can put a light bulb inside of. While I like and respect the designs and template making scripts on their site, I just thought that the cube template they have uses way too much filament. After uploading my photos, downloading the resulting .stl, and opening it in Cura slicer, it estimated that the print would use just over a whole spool of filament (1.1kg to be exact). This presented its own logistical problems. My printer does not have a filament runout sensor, so I would have to start the print and make sure that I was sitting around waiting on the spool to run out and then quickly load another before the print failed at about 98% completion. Let’s just say I don’t have the time or the patience for this in my life. I also don’t have a spare socket for a single light bulb laying around, so I would have had to order one from Amazon. Given the current state of the world, they estimated that they would be able to get said socket to me sometime before June 5th. Yet another road block. It just seemed like this way of making the thing I wanted was a little impractical, so I rolled the idea around in the ol’ noggin for a few days. As anyone who knows me will attest, this is often a dangerous thing.
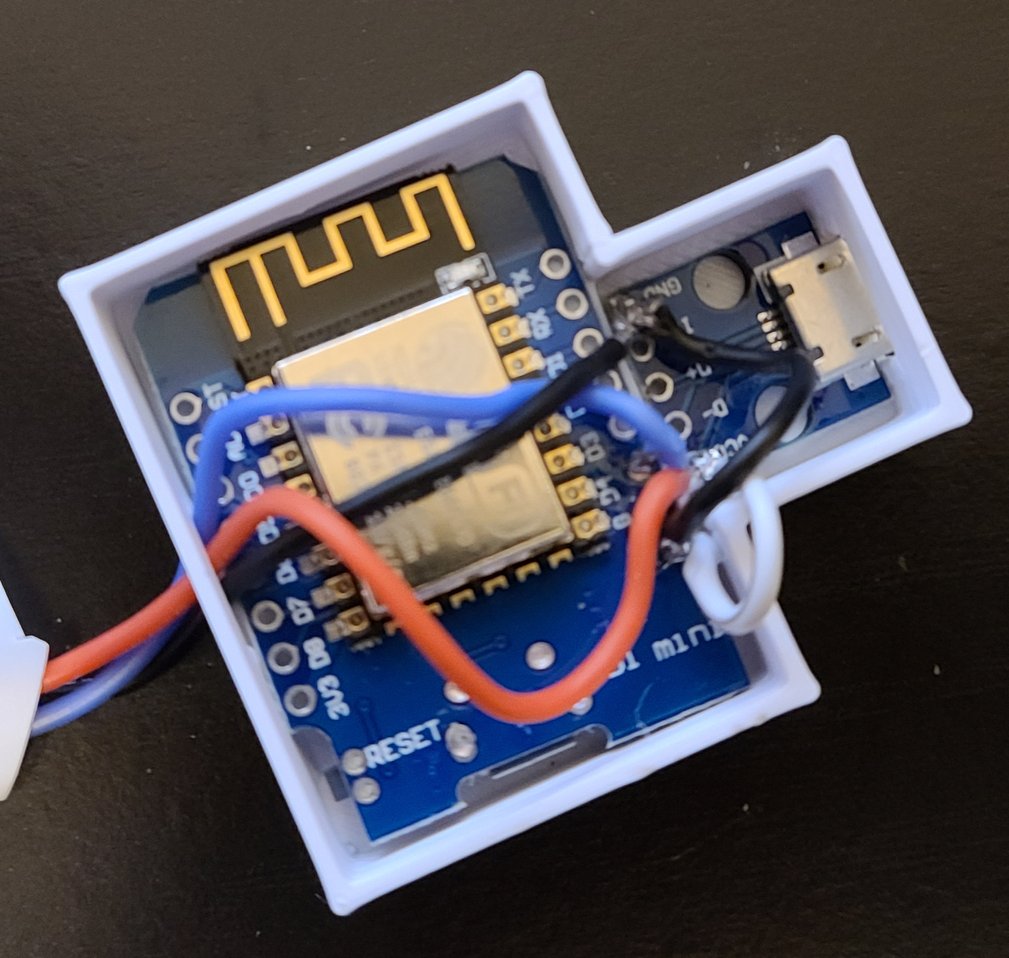
After a couple days of thought, I realized that what I did have was almost a whole roll of WS2812b led lights and a few D1 minis laying around. I’ve used this combination in a previous post to create The Marvelous Love Light, using a plastic casing from Dave and Busters to create a really cool multi-color, multi-effect light with WLED that was a big hit with the future Mrs. My plan was to take the photos I wanted to use, upload them to Lithophanemaker.com’s flat template maker, print them out separately, and then glue them together. This seemed like a great idea, with one problem, I didn’t have a top or a bottom for the cube. However, Tinkercad is one of the internet’s greatest inventions to date and lucky for me it is pretty easy to learn and use. I also have a new set of calipers that I bought on a recent trip to Home Depot that needed a good use to justify the money spent.
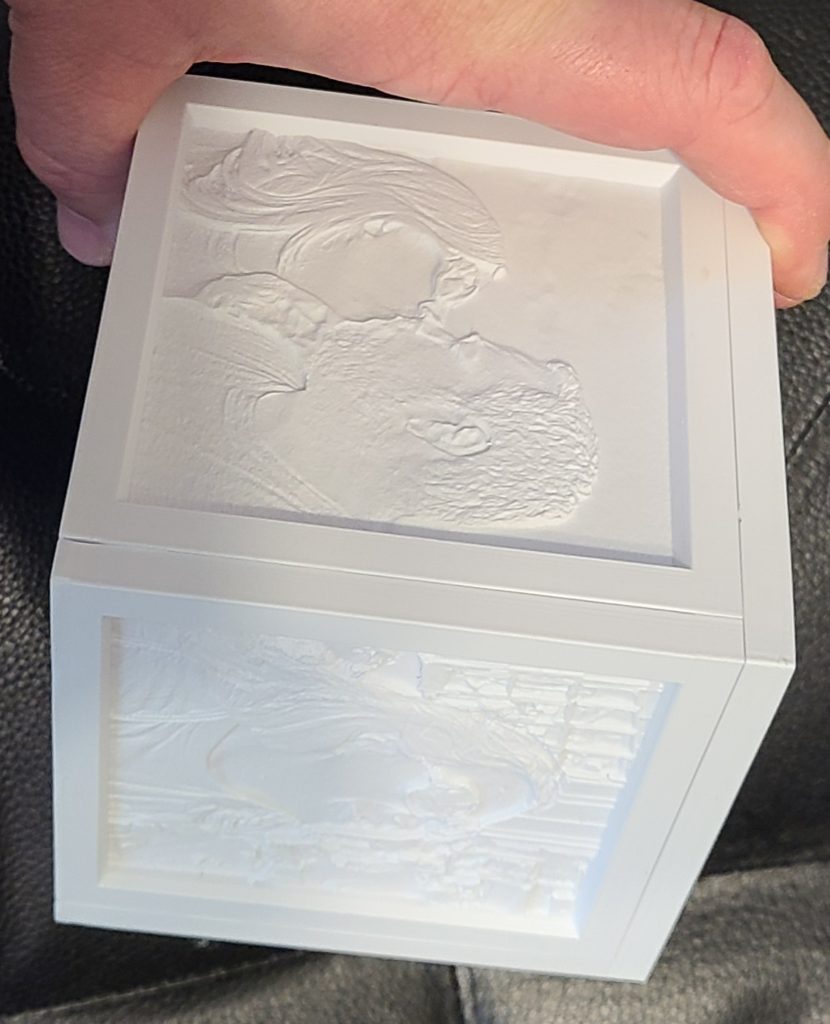
After a few days of printing, I glued the 4 lithophanes together and measured the outside dimensions to figure out what I needed to design in Tinkercad.
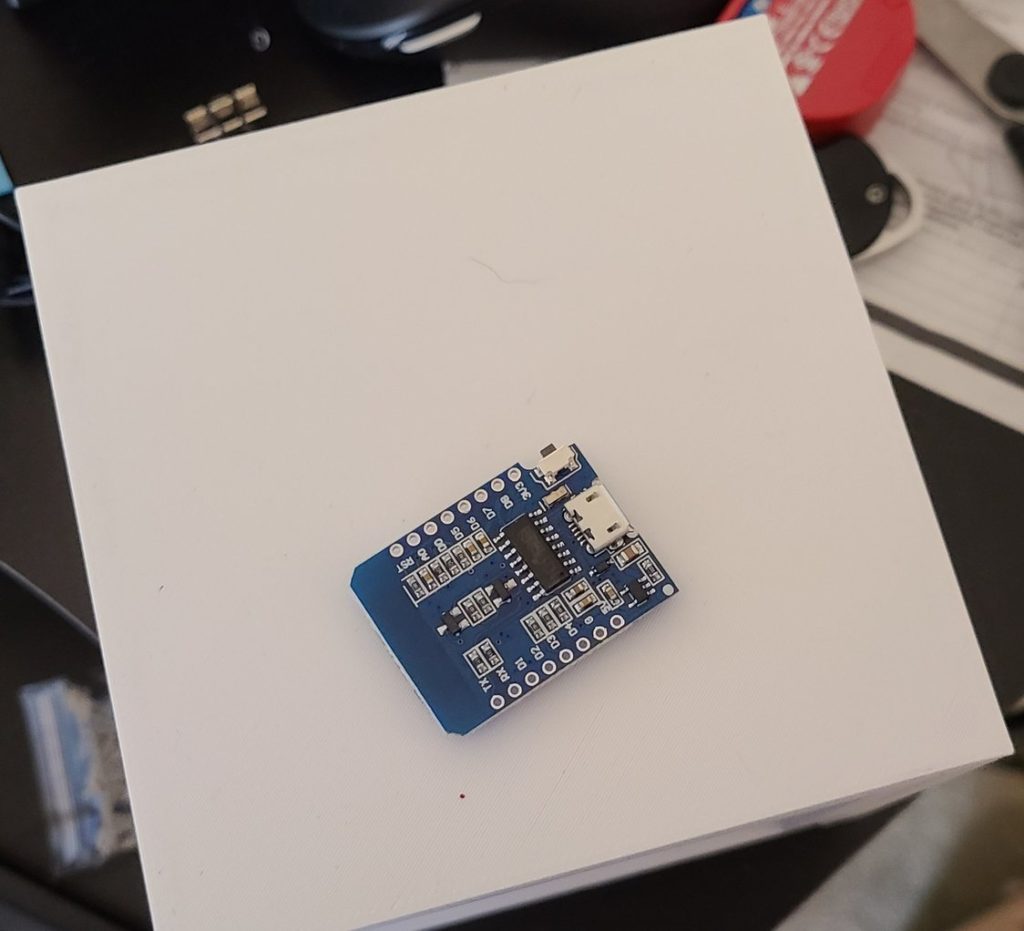
Everything was going well and I began the tedious process of wiring up the led’s. On the previously mentioned post, I cheated a little bit and wired the lights in the middle of the strip. I thought I could do this again….. Let’s just say that when you don’t wire these lights in the direction they are meant to be wired, bad things happen electrically and you end up with only the first light in each segment lighting up. They also short out and your wiring will heat up in a HURRY! So I soldered the lights again, properly and attached them to the base. I also needed a place to house the D1 Mini and the USB connector. Once again, I could find exactly what I was looking for online, and Tinkercad saved my bacon. I know its not the slickest looking design but it is functional and it stays out of sight.
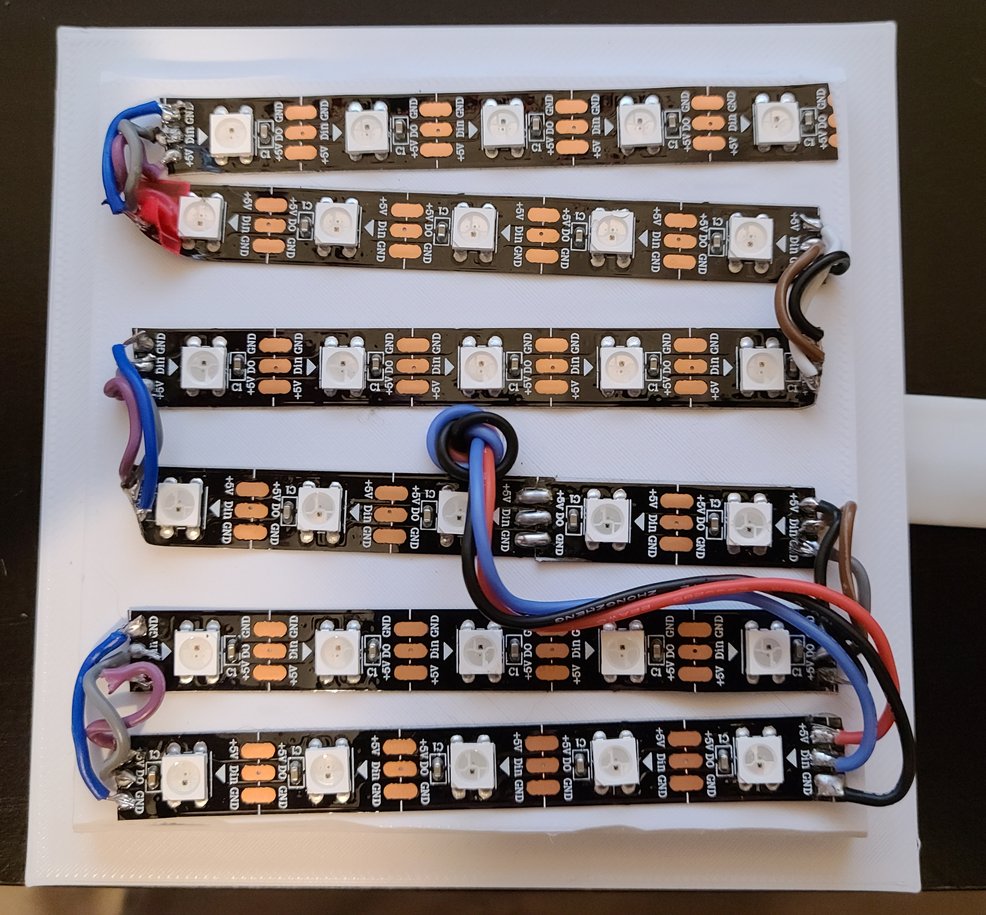

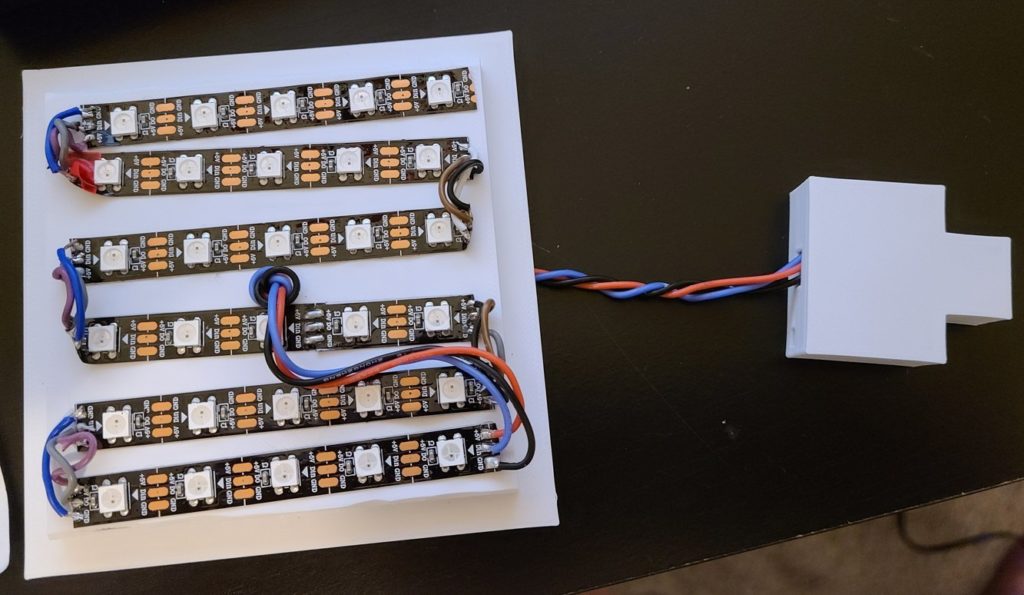
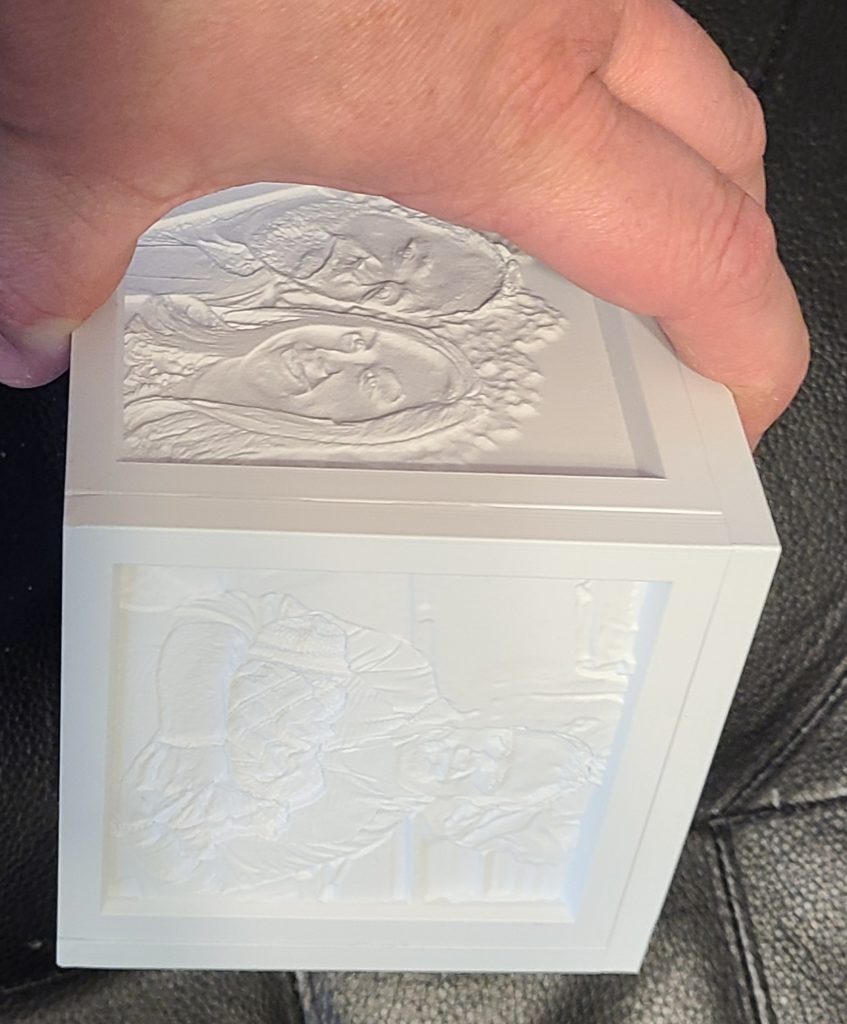
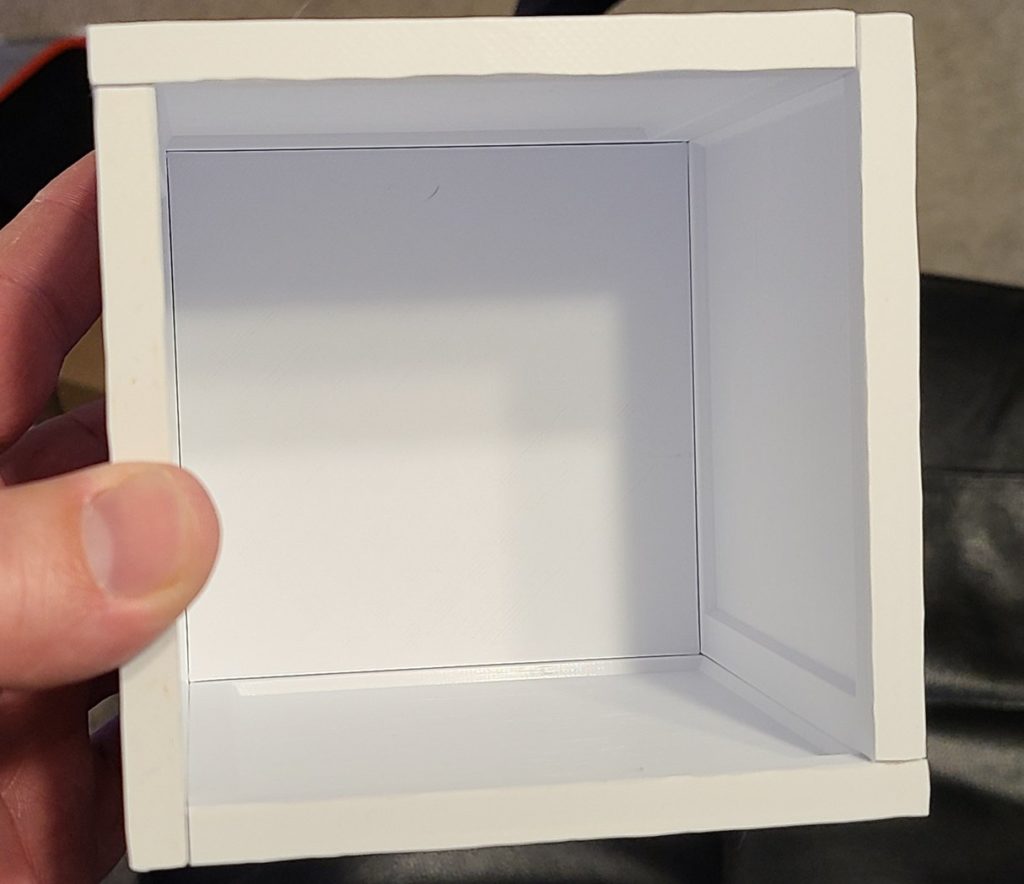
As you can see if you zoom in on the photos above, you can see the directional arrows on the WS2812b strips. In this case, it pays to follow the instructions. Moving on, I put the top and bottom on and plugged it up. To my surprise, at each corner I had a slight gap and light was escaping. Given that this cube will be seen by just about everyone who comes by our home, I wanted to make sure that it looks polished. Not to mention, this is by far the coolest thing I have made yet using my 3D printer. Enter Amazon again. Apparently, silicone caulking is considered an essential product and they will still ship it to you in 2 days for free if you’ve kept your Prime membership active through this time of “pandemic.”
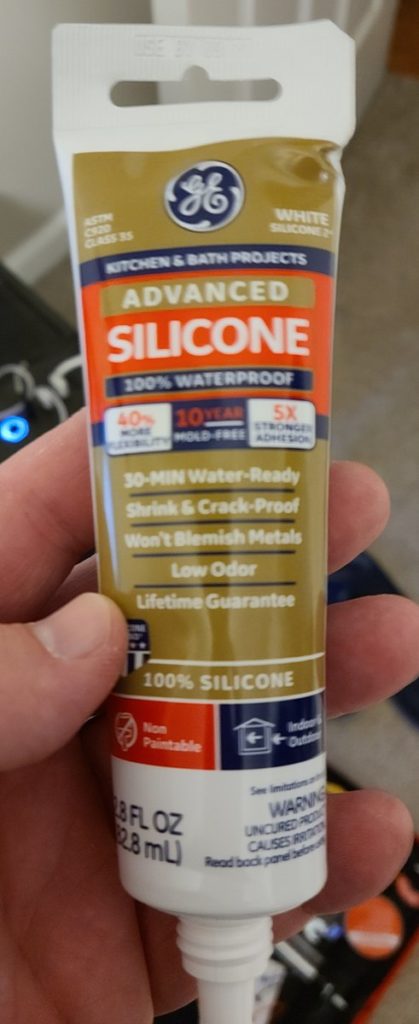
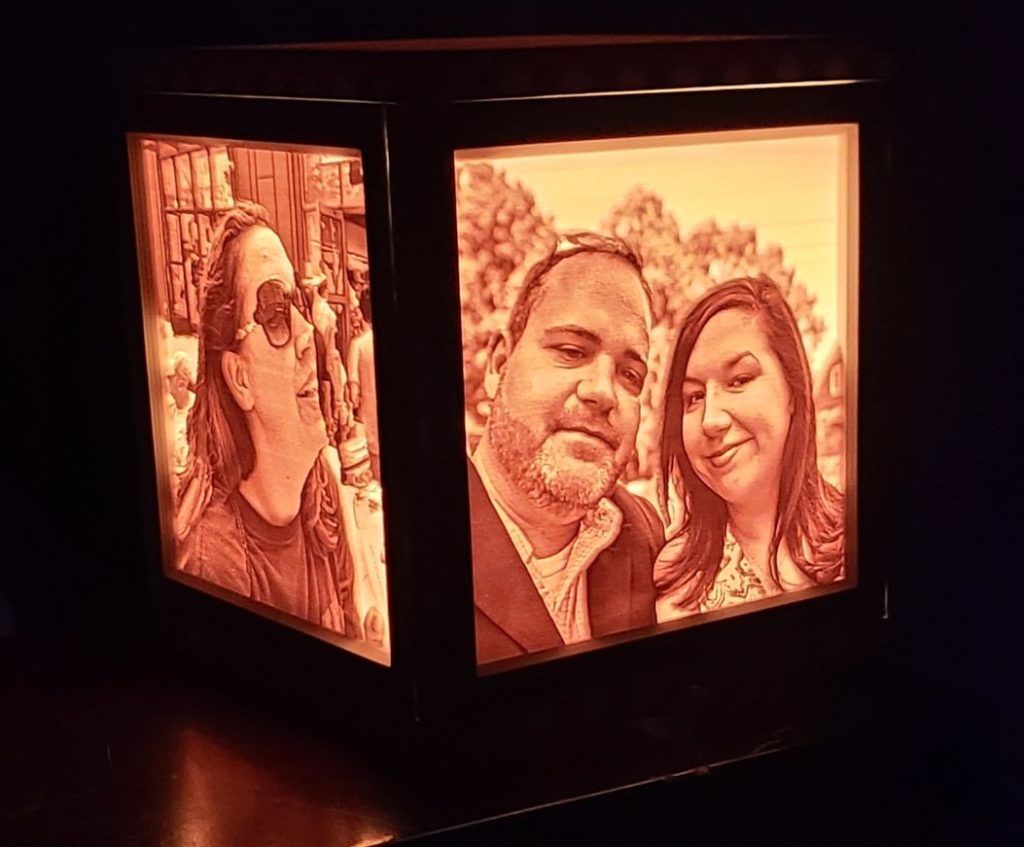
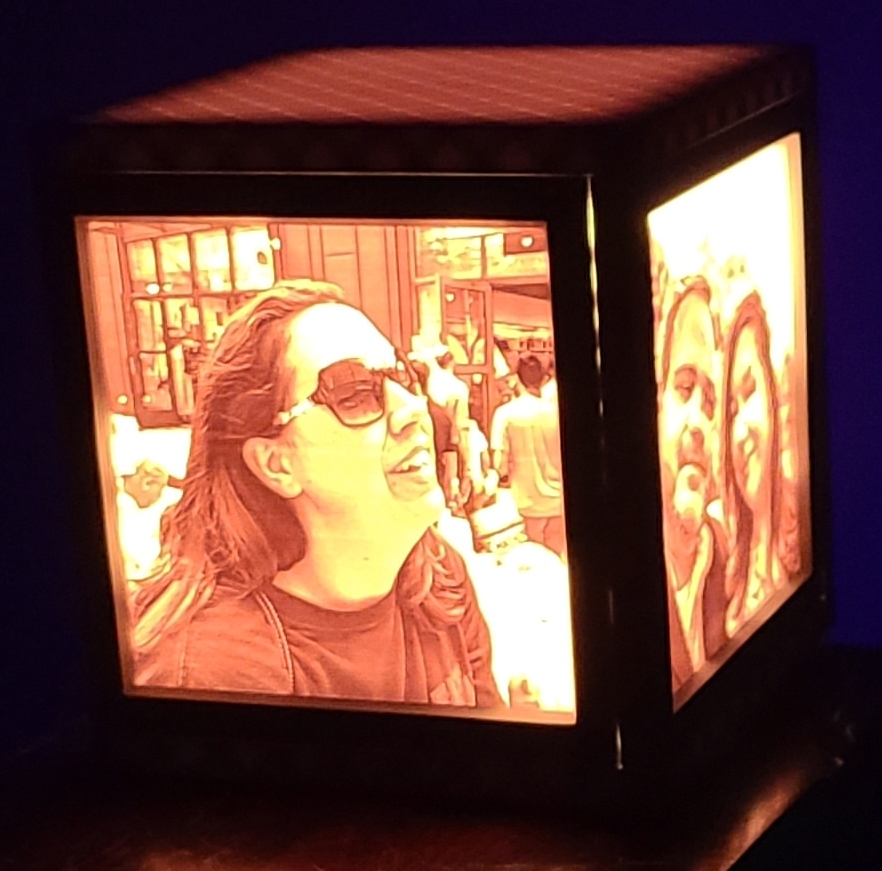
Using the above caulking, I fixed the corners and now the only light escaping from the cube comes through the printed filament. I have to say that I am thoroughly impressed with the way this turned out and this will be the first of what I am sure will be many photo cubes to come out of my printer. This seems like just about the perfect gift for a family member that is impossible to buy gifts for, and for a few of the wedding pictures we will have in the very near future. Please excuse the sappy photos below, but I and the future wife are very fond of each other and this particular photo cube is for display in our home. Hopefully, one day our kids will want to have it somewhere in their home as a keepsake from their dear old mom and dad. But I digress, photos incoming…..
You can see the gaps…. 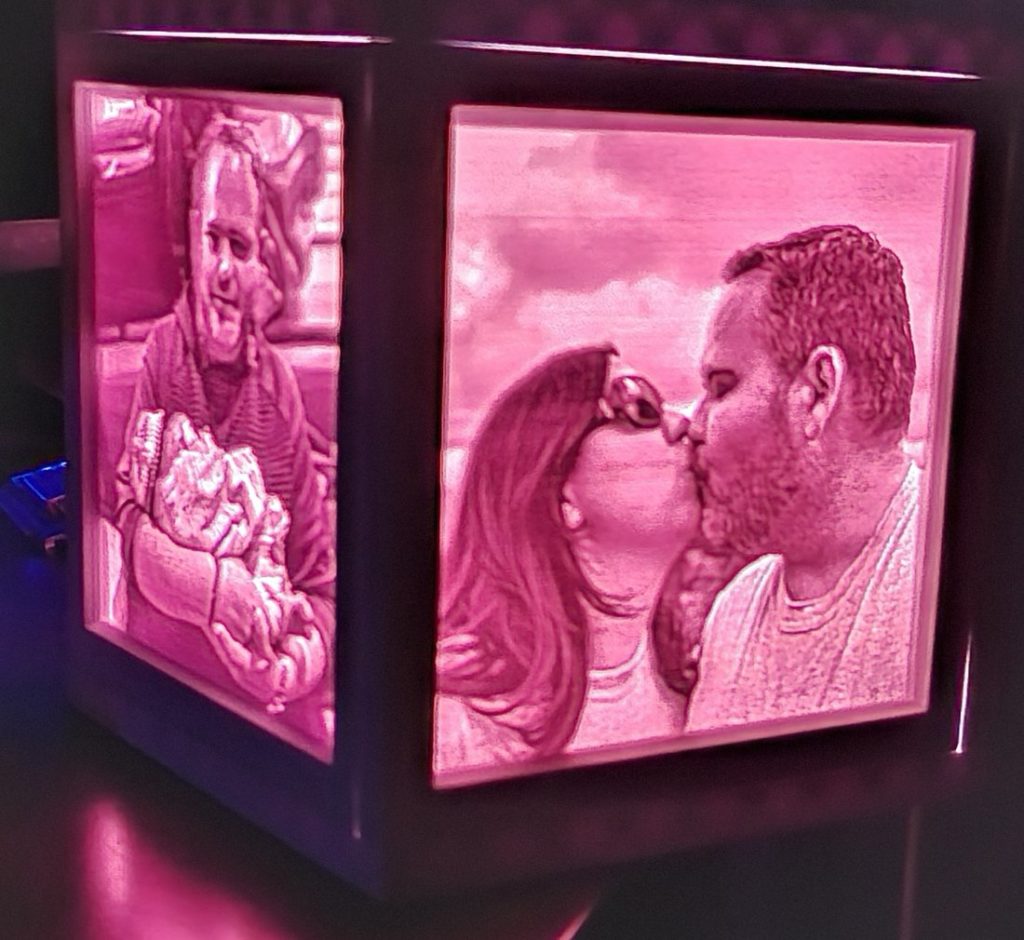
Extra lovey dovy photo!! 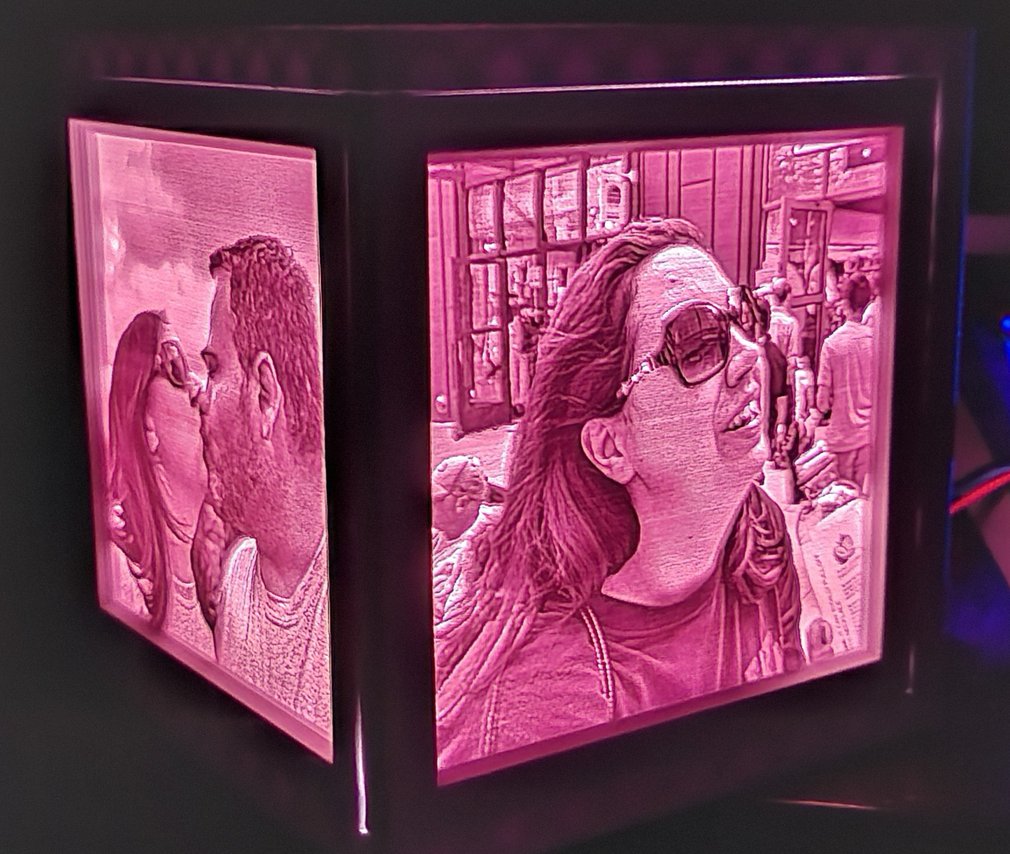
My favorite photo of the most beautiful woman in the world!! 
All dressed up….
All-in-all I am happy with the way this came out. All of the settings I used on Lithophanemaker.com were the defaults with the exception of the minimum thickness setting. I changed that to 0.4mm. I also made a short video showing off. You can find it on Youtube or just watch it above. If you have any questions feel free to comment below or reach out on any of the social media sites. Until next time, stay and take care of yourselves. Its a crazy world out there, right now.
–The Linux Trucker
5/21/20